

How To Easily Repair Scrathes On Fiberglass Bumper
How to Remove Scratches From Your Machine Bumper
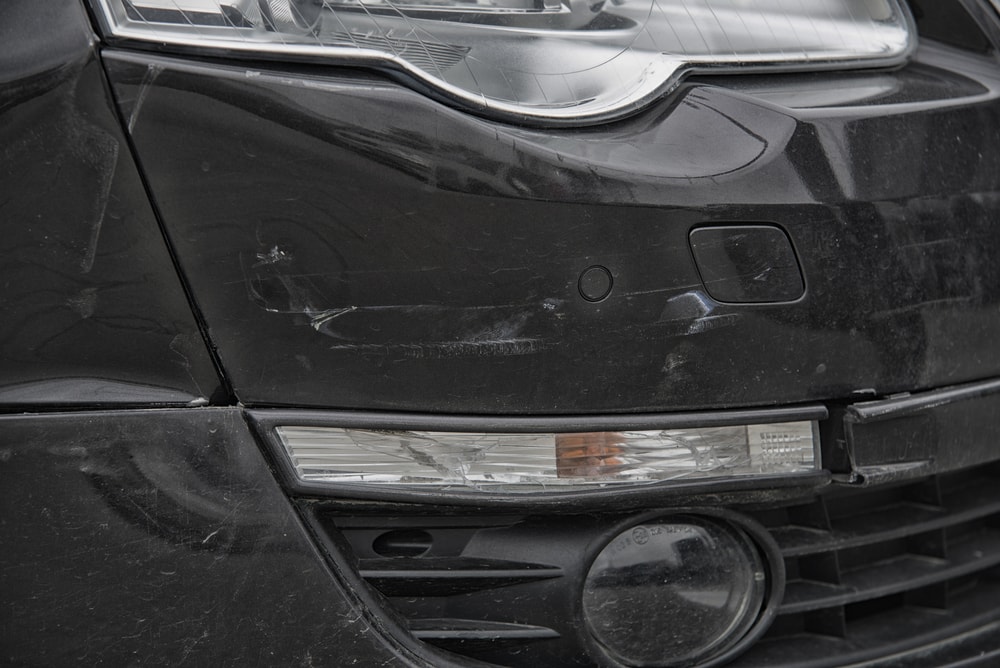
Picture this: you just spent minutes perfecting your parallel parking so that you lot're merely close enough to the curb and have just enough altitude from the cars in forepart and behind you. Y'all become out, do your errands and come back to your car. The cars ahead of you and behind y'all are gone, giving you lot ample room to leave the spot. Unfortunately, upon closer inspection, it seems the other cars left a little something: your bumpers have been SCRATCHED, KNICKED, DENTED. For such a pocket-size cosmetic blotch, getting information technology fixed turns out to exist as costly as a full on-repair of something on your car.
There are means to salve a lilliputian fleck and a fashion to perform a not-so quick-set up as a do it yourself projection.
So yes, sprucing up your damaged bumpers involves a little effort in grinding, sanding, sculpting and painting. But figuring those steps out Volition save you.
Want to Save THOUSANDS on Auto Repairs? Go Endurance!
Costless ONLINE QUOTE
Kickoff Off: What NOT to Practise
Too many vehicle owners end up heading to their local automobile parts shop for some really inexpensive body filler and a tin of what they think is matching spray paint. This is a bad idea.
Over the years the making of auto torso parts has inverse and thus you, the vehicle owner will need to conform. It is a whole new set of supplies you demand to gather in terms of fixing painted plastic/carbon fiber parts as opposed to the metal that used to be used to make bumpers.
What Practise You Need?
There are likewise many companies to proper name that specialize in DIY repair accessories for scratches and bumpers. What you demand is the following (at the very least):
- Repair and refinishing kits for plastic bumpers, as well as plastic fenders and door skins fabricated from the sheet molding compound
- Prep solvent to remove clay and oil and to continue things adhesive
- Factory-matched pigment in a spray tin
- Automotive spray primer
- Automotive spray clear glaze
- Some sheets of fibroid and fine sandpaper
- Scuff pad
- Cleaning towel
- Wax and grease remover
- Scratch-filling putty
Desire to Salvage THOUSANDS on Auto Repairs? Get Endurance!
Free ONLINE QUOTE
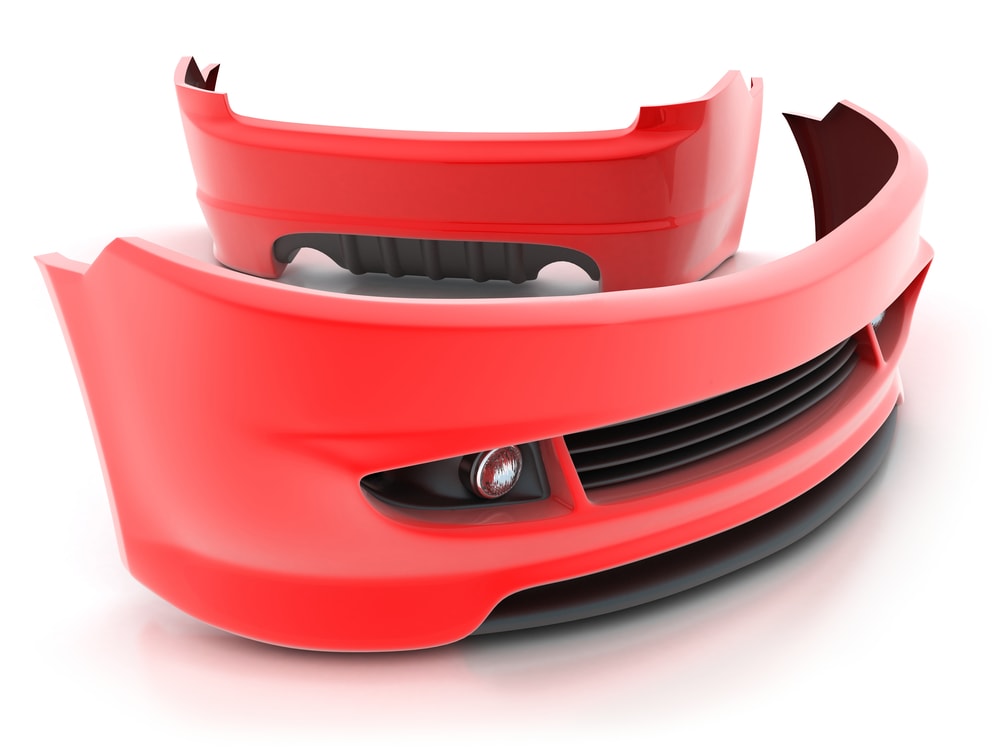
Bumper Scratch Repairs
What's interesting to note is the fact that when referring to a bumper y'all're not actually talking well-nigh the office of the auto that protects the front end and rear frame of your car. The bodily "bumper" part of a front or rear bumper is what is hidden below that plastic or sheet metal that is decumbent to nicks and scratches. The thing is that the plastic covering was in fact designed for the express purpose of deflecting and deforming upon touch on.
Ok, and then you need to get that console/covering off first.
On most mod cars there are screws behind metal caps almost the trunk latch, as well equally screws nether the lights and at the wheel wells. After removing those Once they were removed, we were able to slide the bumper'due south tabs off a number of slots in the rear quarter panels. Wait for screws or bolts under the trunk carpet betwixt the bike and the rear bumper.
Once it's off, it is some for what Popular Mechanics refers to as the "Fascia Facelift."
Work in a warm, dry out place. Keep in listen that no 2 bumpers are fabricated the same way. Check the characterization inside to place the type of plastic.
- PP (polypropylene)
- PPO (polyphenylene oxide)
- TPE (thermoplastic elastomer)
The to a higher place materials tend to smear when ground or machine sanded.
- PUR (polyurethane plastic rigid) and TPUR (thermoplastic polyurethane elastomer) react to beingness footing or sanded by powdering up.
With that out of the way, it is fourth dimension to choose your filler. Different fillers react to unlike materials and most of the time they will exist labeled equally such. As with most things cars: compatibility is important.
Desire to Save THOUSANDS on Auto Repairs? Go Endurance!
FREE ONLINE QUOTE
Ok with that out of the way…
No matter what plastic your "fascia" is or what filler you use the steps remain the same:
- Slightly scuff the damaged surface area earlier cleaning information technology with plastic surface cleaner. Notation: if the area has been torn or pierced, you lot need to really scrub the surfaces within and out.
- Rinse with water and allow the surface dry
- Wipe the area with a prep solvent. There's a movement y'all need to recollect: merely i direction. This is to preclude dragging debris and dirt and making things worse.
- Mix equal parts of hardener and repair adhesive on a dish or cardboard of sorts.
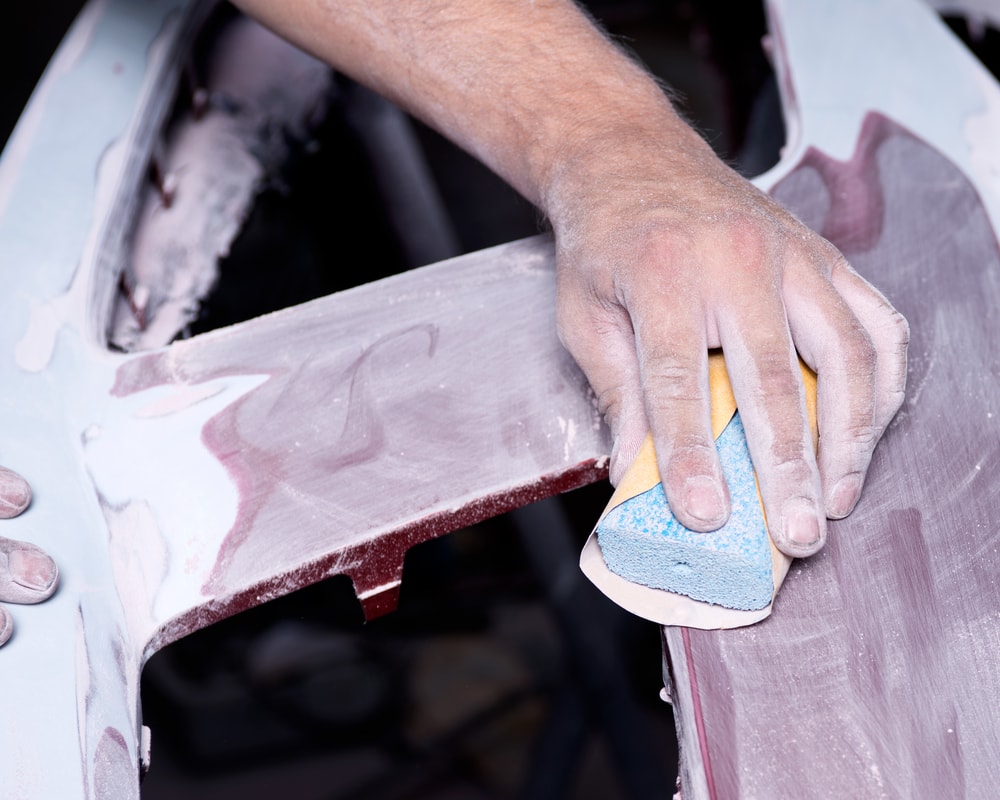
- Wait for the solvent to dry. Once that happens, be sure to sand the area by hand with 80-grit newspaper.
- Form A "V" groove in the damaged area. What This does is allow you to align the two edges more hands while creating surface for repair material to stick.
- NOTE: Plastic types that powder when sanded demand to have the grooves with a 24-grit disc on a sander. Plastics that smear when sanded can take the groves made through cordless drill and a rotary file.
- Spread the plastic filler over the repair
- Repair tears and cuts from the backside of the fascia. If the cut or tear is large, you lot might take to align and then hold the edges of the repair with masking tape on the front of the fascia.
- Use self-stick fiberglass-repair record to add together construction to the cutting or tear.
- Mix the adhesive and utilize information technology over the record with a torso-filler squeegee. When the first layer of tape is in place, utilize a 2nd layer so the threads run at a xc-degree angle to the first layer.
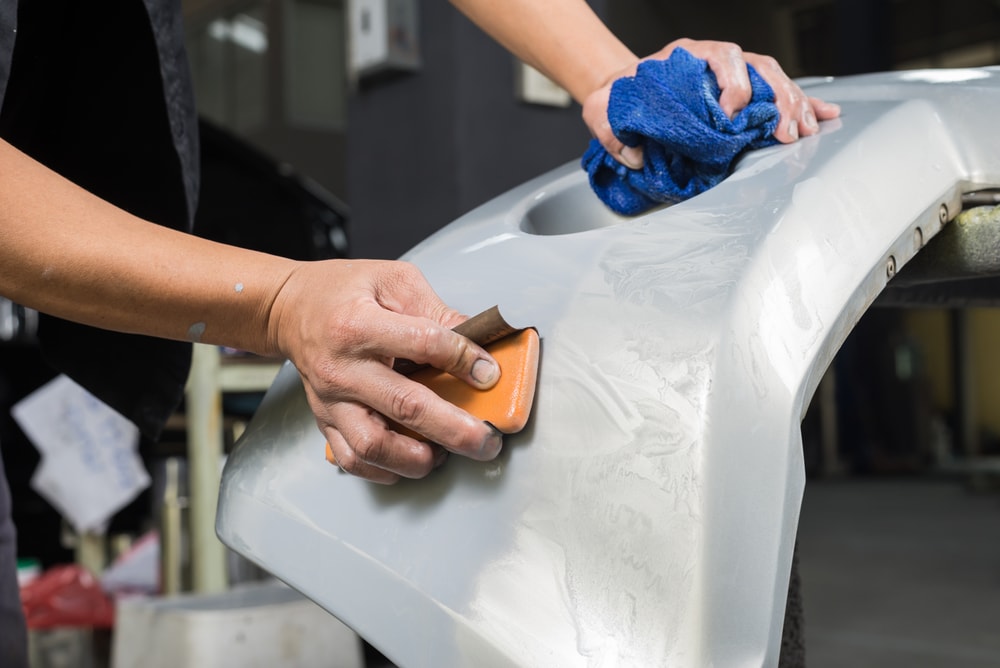
Later the material has hardened, await towards the front of the fascia and remove whatever tape. With lxxx-dust sandpaper, sand off any excess textile that has squeezed through. After you fill the cut or tear and whatever low spots in the forepart of the fascia with the appropriate repair cloth be certain to squeegee it.
When all is washed, employ a low-cal skim coat of repair fabric for pits and surface imperfection. This volition restore the original contour before you cease sand with wet 400-grit newspaper.
It will probably take two coats to restore contour properly.
Want to Save THOUSANDS on Motorcar Repairs? Get Endurance!
Complimentary ONLINE QUOTE
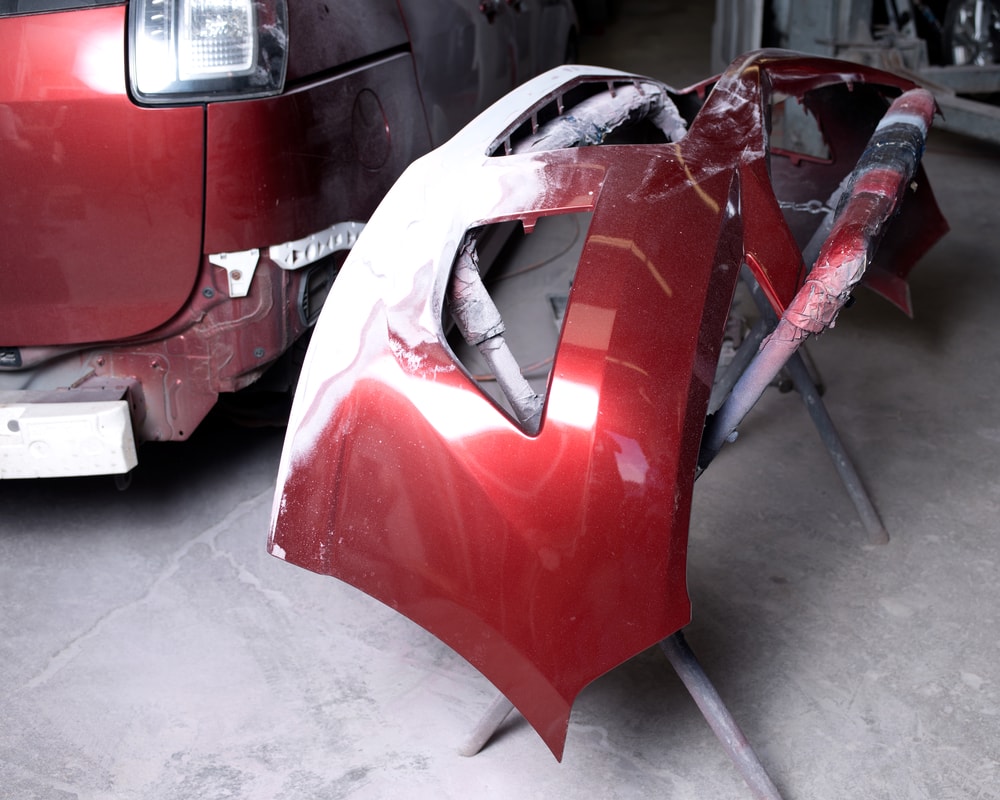
Pigment Scratch Repairs
Congratulations, yous've repaired your "bumper!" Requite yourself a pat on the back.
Now here's the hard part: painting.
- Utilize two wet coats of flexible part sealer
- After drying for 30 minutes, the fascia is ready for priming and painting. NOTE (read the labels and follow the maker's recommendations for operator safe).
- Prime number the fender with two coats of any 2-role primer-surfacer, making sure to allow the primer dry betwixt coats.
- After the primer has hardened, dry out sand the repaired areas with 400-dust newspaper to level it and remove any imperfections.
Somewhen, you will spray the bumper with a basecoat. Continue in mind that outset, you have to moisture sand it and and then wipe the area with a tack rag in case of debris or grit.
Want to Save THOUSANDS on Auto Repairs? Get Endurance!
FREE ONLINE QUOTE
Now you can spray the paint co-ordinate to the manufacturer's instructions. Repeat until the affair is covered completely and evenly. After the base is dry, mix the articulate glaze with a hardener before applying ii medium clearcoats, allowing each to dry out on their ain.
And that'due south it. Yous're done. Leave it overnight before re-installing information technology and and then using a buffer to remove imperfections.

Source: https://www.endurancewarranty.com/learning-center/how-to/fix-bumper-scratches/
Posted by: quinnwitimedge.blogspot.com
0 Response to "How To Easily Repair Scrathes On Fiberglass Bumper"
Post a Comment