

How To Repair Digitizer Core Prime
Introduction
This guide shows you how to replace a broken glass screen on a Samsung Milky way Cadre Prime G360G model with a minimum of fuss. Provided the LCD display is intact. A few tools are required to pry the broken glass off and it doesn't crave any extra glue to stick the new screen down. Provided the reader is the usual cautious type and keeps all parts clean during the process it is actually easier than it might look if the task goes well.
-
-
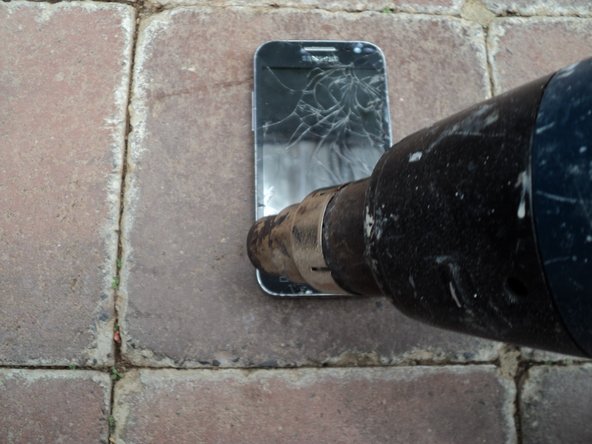
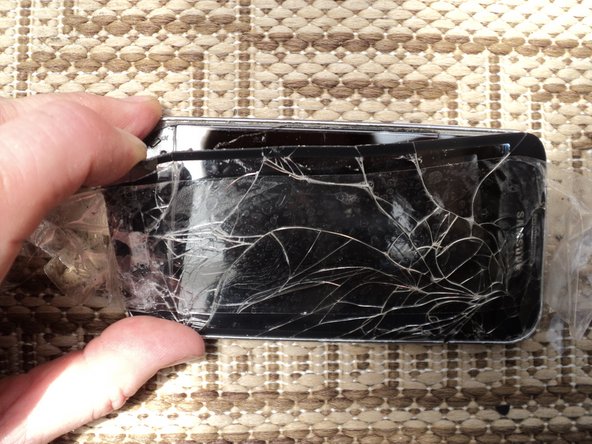
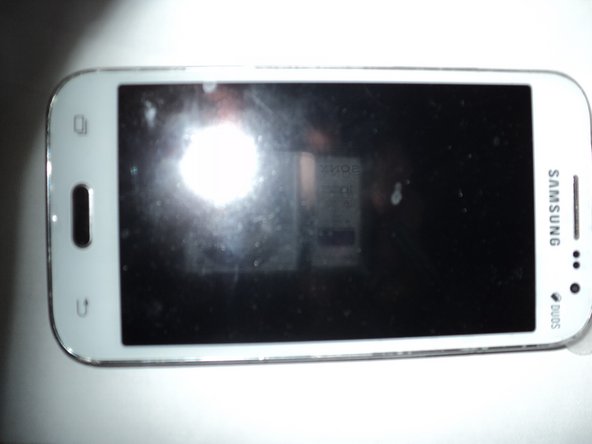
So here's my phone with a broken screen sitting on the paver. No I just didn't just driblet information technology. The similarity betwixt this and that Cracks in the pavement song is purely coincidental. ;-)
-
This guide assumes your phone looks similar. Dropping your telephone to achieve this is not recommended. Even if a broken screen is a prerequisite.
-
So at present the get-go step is to do the usual grooming. Power downwardly your phone, remove information technology from any charger and unplug it from whatsoever devices.
-
-
-
So here accept off the back encompass. Remove your battery, whatsoever SD menu inserted and SIM card. Different most fixes you don't need to remove the screws on the back.
-
On the bottom there is a removable embrace next to the flash light which comes in handy. As seen here. And so grab a tiny flat blade spiral commuter and lift information technology up.
-
I besides lifted upwards the connector nether the cover yous can see here. Utilise your boom or a soft instrument. Keeping in listen this is the plug in from your LCD.
-
-
-
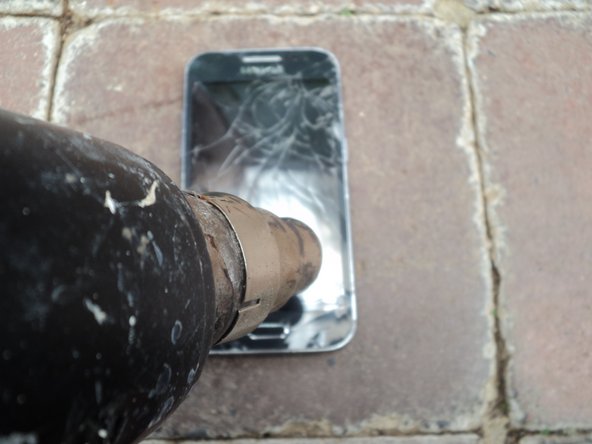
The glue belongings down the screen needs to exist softened upwards. So I blew over it with my heat gun. I put on an attachment to focus the air flow. I concentrated on the sides and to a lesser extent the acme and bottom as other plastics and electronics are underneath. My screen nonetheless cracked more than in the center so be careful if you intend to reuse your LCD.
-
-
-
So now I pry the screen off. To do this I MacGyvered some tools from the house. Here I start with a butter knife. I gradually go around the edges. Lifting it up and under the screen. Sliding it under the drinking glass border as I get.
-
There is a slight gap between the glass and silvery edge. You lot tin can wedge your instrument in as y'all concord it straight up. And once in enough lever information technology upward under the drinking glass.
-
Be conscientious hither you don't slip in and hit the screen. Particularly in tight areas. My phone was still warm only if you feel resistance you can apply more oestrus.
-
-
-
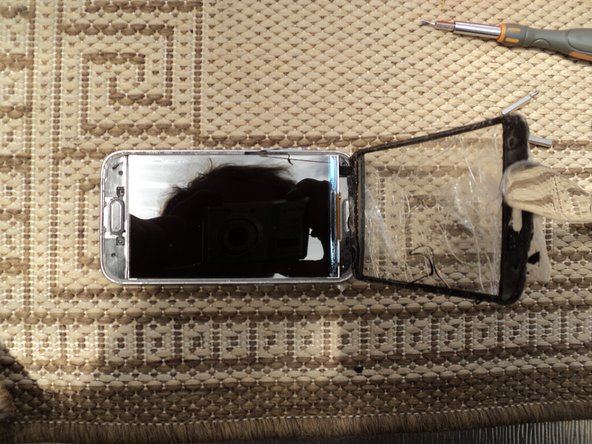
So now I've pried it up enough to get my fingers effectually it. I hold the base and pull up the glass. Being careful as I am pulling at broken glass despite the size. Here I accept as well laid sticky tape over the glass to assist. Avert finger printing the LCD. Finally hooray it's off.
-
At this point I also detached the flat ribbon cable connecting the screen to the lath inside. Note that mine came out easily and in fact when it came loose I wasn't actively pulling it out. It was held in past a little tape.
-
If you can practice so easily remove the cablevision and take the old screen abroad. Since it's broke already you lot don't demand to worry nigh breaking it again but exist careful every bit it's attached to a socket on the back of the LCD.
-
Also remove the button at this bespeak.
-
-
-
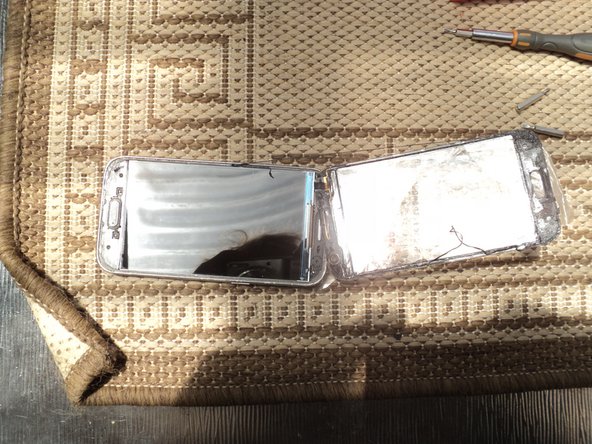
Now I'k prying the LCD screen up with a plastic wedge. This time my tool of choice is a guitar pick as it's softer and thin enough to accomplish in the groove. Now be extra careful here. Y'all don't want some other screen to replace prematurely.
-
Now I'yard lifting it up from the side of the volume controls. So pivoting it on the reverse side of the plug underneath. On the side of the cablevision. Summit of telephone is on left.
-
Now information technology's upward and fix to go on the flip side. Held on by a glue strip of record on the inside. Which needs to stick it back later on.
-
-
-
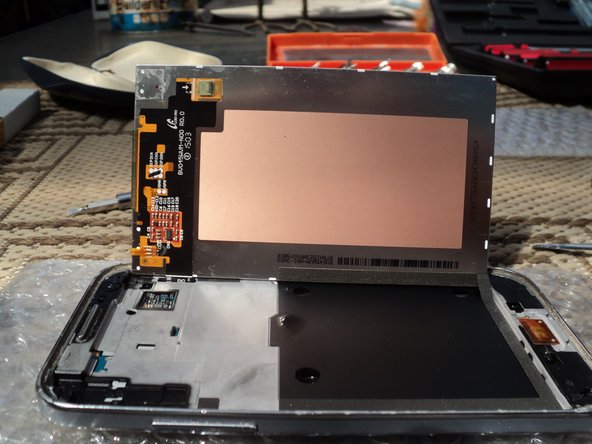
Now we attach the new screen. On the height left is where the cablevision goes in. There is a little tape you can lift upwards on the socket.
-
Position it as showed and slide the cable into the socket. There is a white line to guide you on elevation. Once you know information technology'southward in place you can keep it there by masking some tape over the join. Similar I have here.
-
-
-
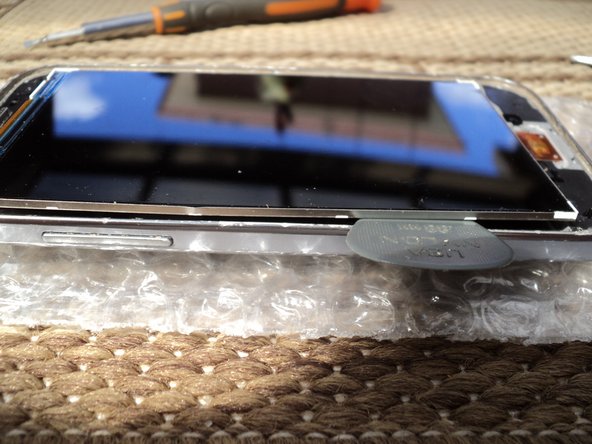
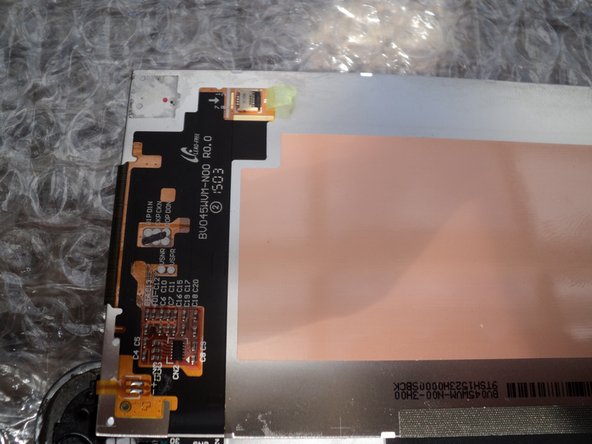
Here is equally shot of the screen. Literally. Flip the LCD back into identify making sure the glue strip under information technology remains intact. Beingness conscientious of the drinking glass screen cable and flip it also equally you go and then it sits on the left and upside down. And requite the LCD screen a clean. And then it's nice, glossy and grit gratuitous. I used an LCD wiping cloth.
-
Put the button dorsum also.
-
-
-
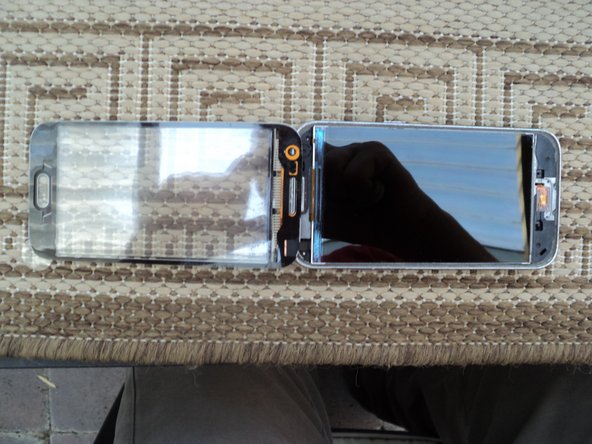
While the LCD is still clean it'due south fourth dimension to put the screen on. While the new glass is sitting upside downwardly on the left skin off any protective tape and flip information technology over the top. Now align the glass on peak into place. Press it downwardly and you're skilful to go.
-
-
-
Now flip it over over again. Press the LCD plug into the socket. Put the plastic panel back. And you can put your bombardment and cards dorsum in identify.
-
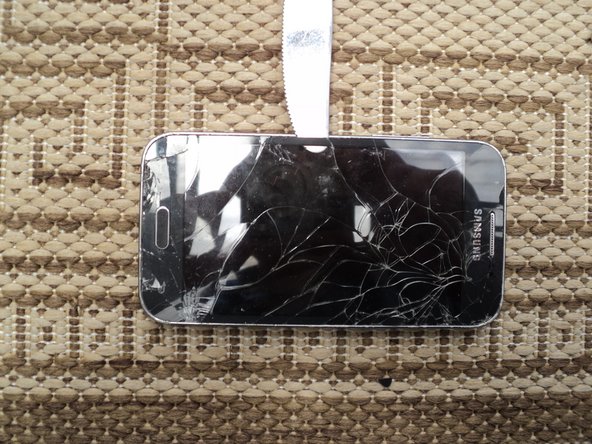
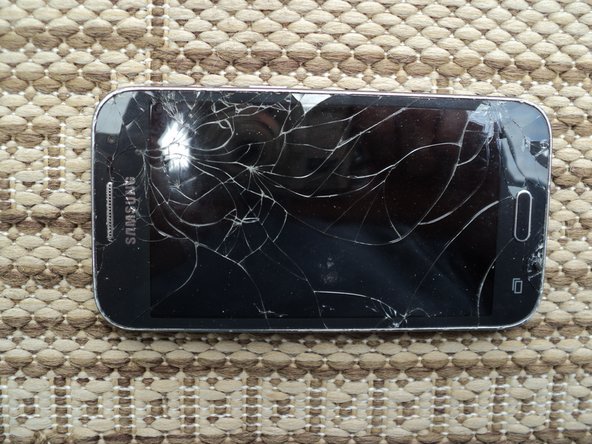
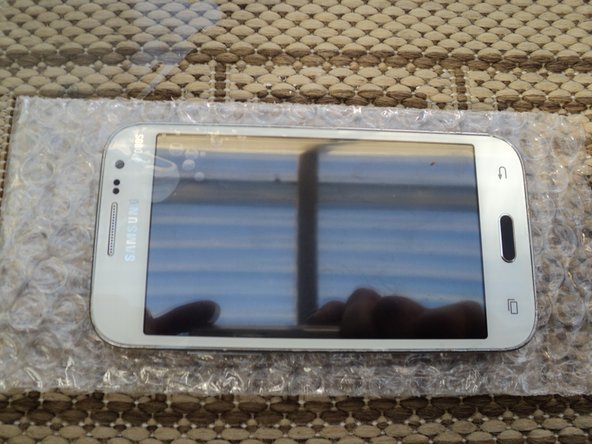
Here's a photo of my finished consequence. You will discover I changed colour likewise. If you take a break you lot might as well have a alter. I kept my black button though did consider a respray.
-
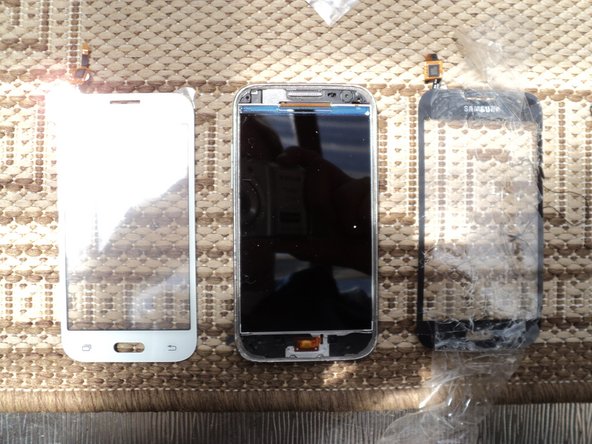
Finally only for a fun a shot of the three amigos. :-D
-
A last note. Be careful of the tiny magnetic sensor. Mine fell out later I pulled my screen off and I couldn't see where it came from. So if yours falls out make sure you know where it plugs dorsum in.
-


Decision
Once yous accept a overnice new screen again be certain to put a protected cover over it. IMHO a instance works best. Be careful of tempered glass add ons every bit I put one on before I got a instance and it only lasted an 60 minutes in my cargo pants. Weaker than the telephone glass it was meant to protect information technology looks. Shocking.
Embed this guide
Choose a size and copy the lawmaking beneath to embed this guide every bit a pocket-size widget on your site / forum.
Preview

Source: https://www.ifixit.com/Guide/Samsung+Galaxy+Core+Prime+G360G+Glass+Digitizer+Replacement/76512
Posted by: quinnwitimedge.blogspot.com
0 Response to "How To Repair Digitizer Core Prime"
Post a Comment